Customizing Your Mautic Dashboard: A Comprehensive Guide

Mautic, the open-source marketing automation tool, has been steadily gaining popularity among marketers and businesses for its flexibility, affordability, and ease of use. But, like any robust software, maximizing its potential requires a tailored setup. One of the primary areas you’ll likely want to customize to your needs is the Mautic dashboard.
What is the Mautic Dashboard?
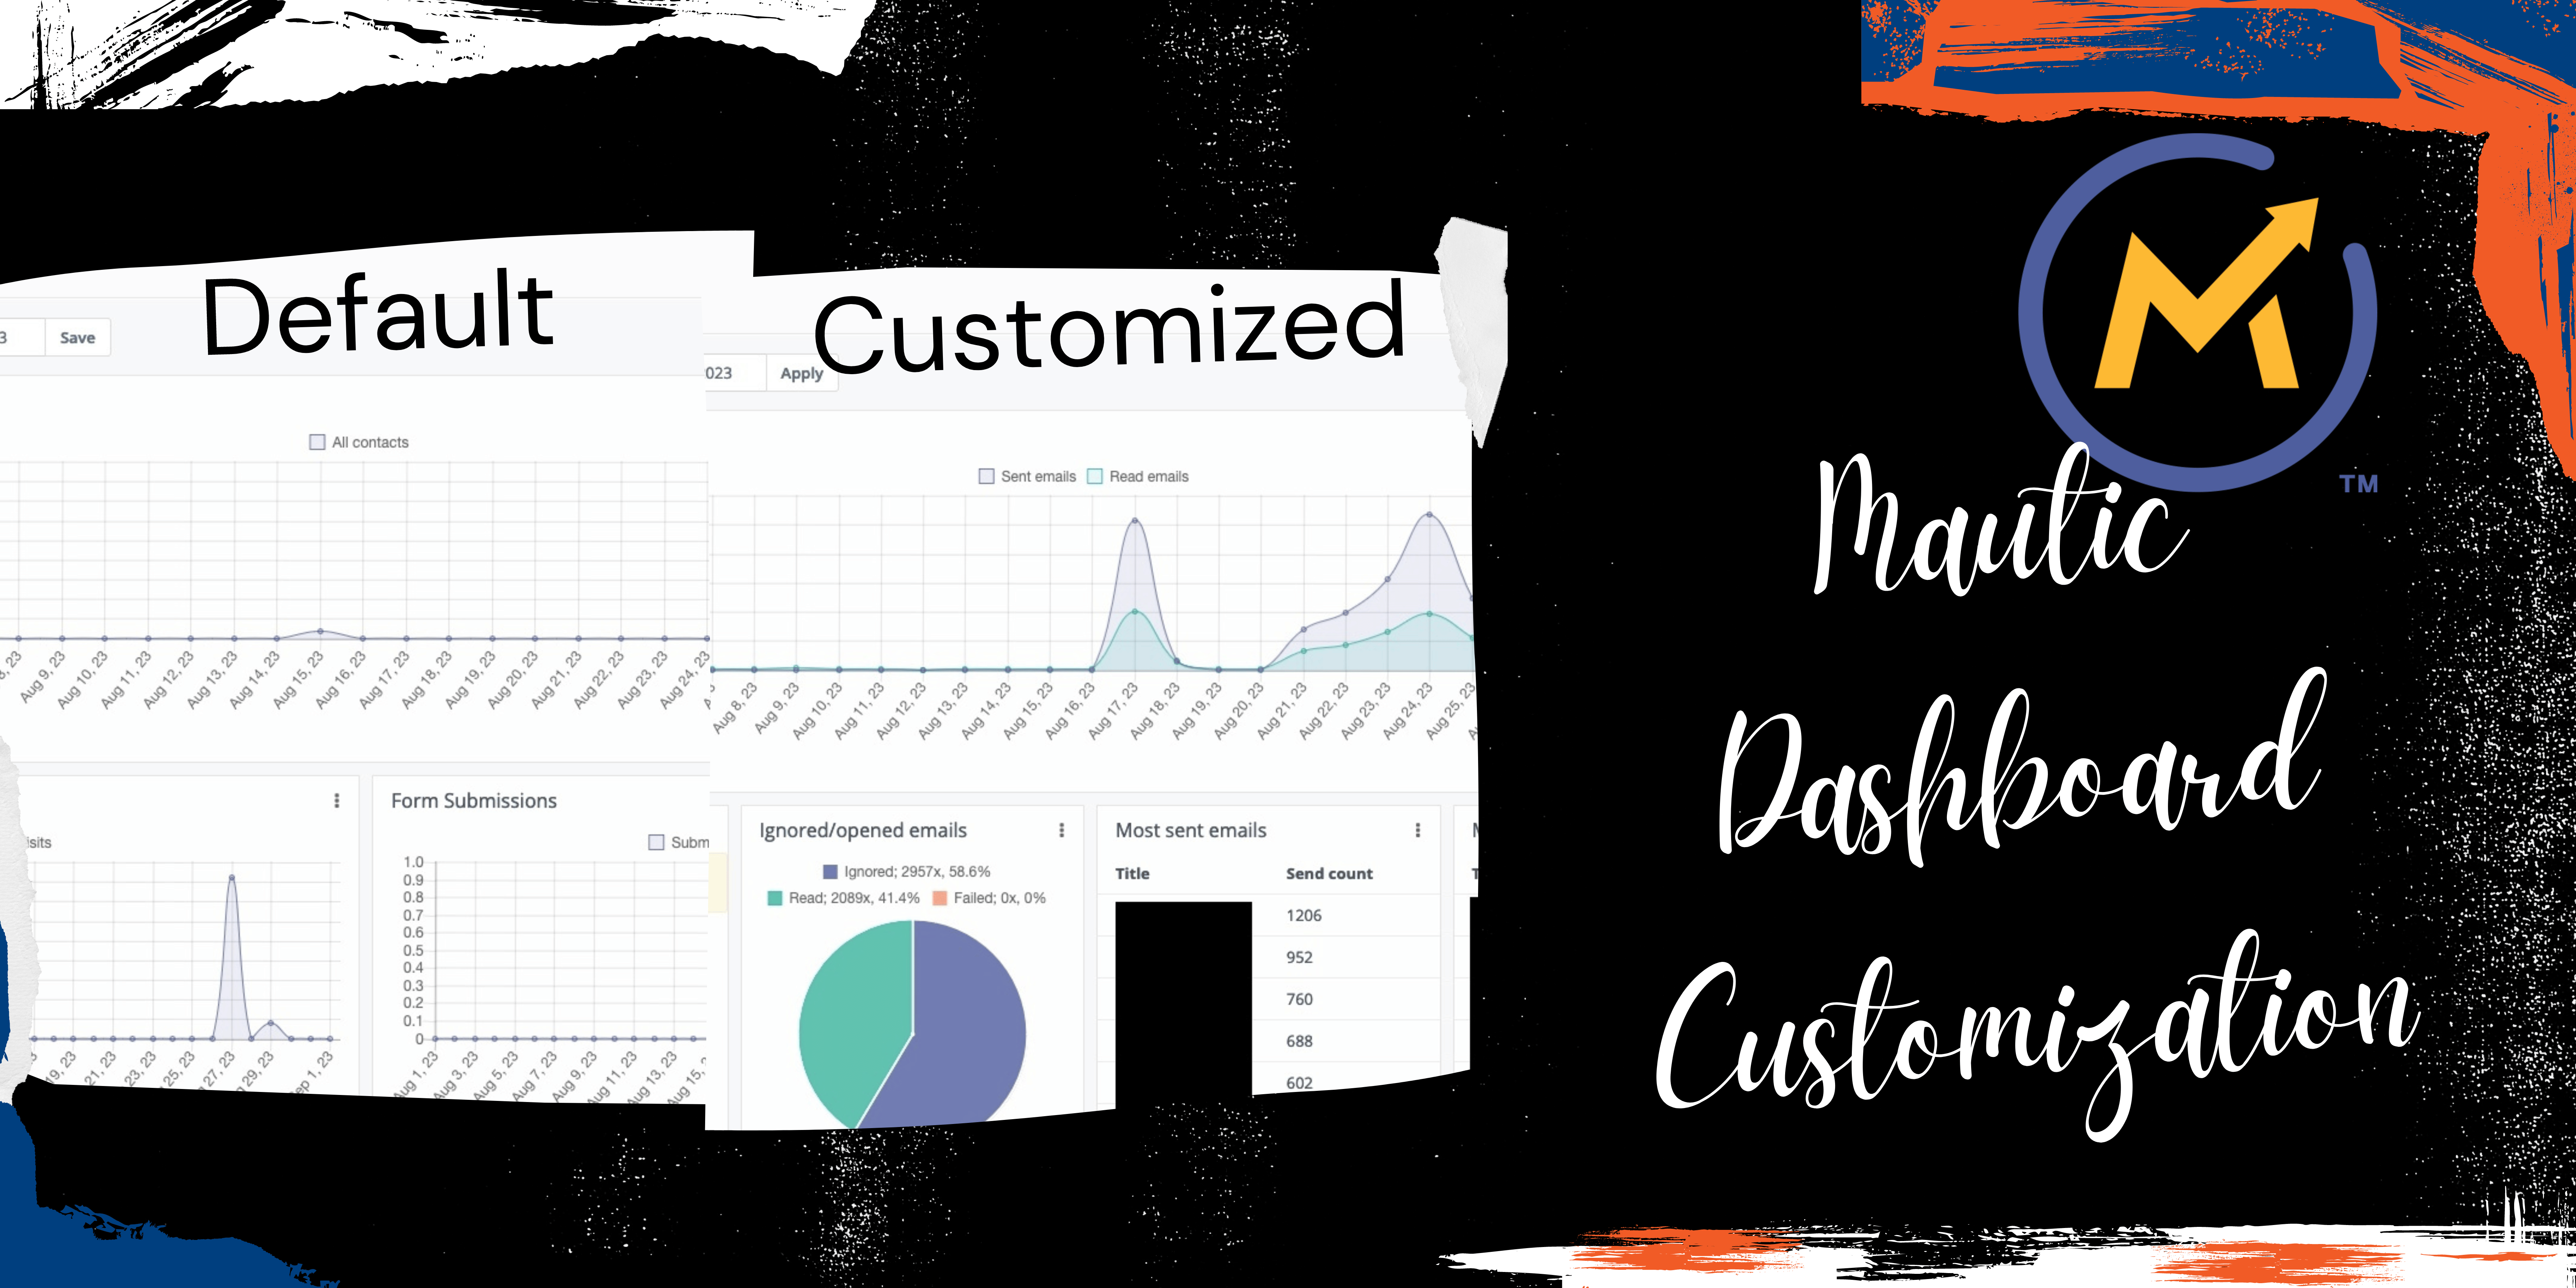
Before delving into customization, it’s essential to understand what the Mautic dashboard is. It’s the first screen you see when you log into your Mautic account. This dashboard provides a snapshot of your marketing activities — be it email campaigns, tracking web visitors, or monitoring form submissions.
Benefits of a Customized Dashboard
1. Relevance: By customizing, you ensure that the information most relevant to you is immediately visible.
2. Productivity: A streamlined dashboard lets you quickly access and understand your data without sifting through irrelevant metrics.
3. Efficiency: Tailored widgets can provide insights at a glance, helping you make faster decisions.
Steps to Customize Your Mautic Dashboard
1. Accessing Your Dashboard
After logging in, you’re instantly directed to the dashboard. Here, you’ll notice widgets that present different types of data.
2. Add or Remove Widgets
On the top right corner, click on the `+` button. A dropdown will present a list of available widgets.
To remove a widget, hover over the widget’s top bar to reveal the `X` button and click on it.
3. Rearrange Widgets
Simply drag and drop the widgets in the desired location on your dashboard.
4. Filtering Data within Widgets
Many widgets offer filter options. For instance, if you have an email stats widget, you can filter it to show statistics from a specific campaign.
5. Setting Date Ranges
Depending on your preference, you might want data from the past week, month, or a custom range. Adjust date ranges at the top of the dashboard to filter all data accordingly.
6. Custom Widgets
Advanced users can even develop custom widgets tailored to specific requirements. This might require some technical know-how, as it often involves coding.
Widgets You Might Consider:
1. Recent Activity: Shows recent interactions like opened emails, new leads, or form submissions.
2. Campaign Stats: Offers an overview of campaign performances.
3. Top Segments: Displays your most populated lead segments.
4. Emails Sent: A graph indicating the number of emails sent over time.
Tips for an Effective Dashboard:
1. Keep It Simple: While it’s tempting to add numerous widgets, too many can clutter the dashboard. Focus on what’s essential.
2. Regularly Update: Your priorities might change over time, so revisit and adjust your dashboard accordingly.
3. Seek Feedback: If you have a team, get their insights. They might offer a perspective you hadn’t considered.
Conclusion
Customizing your Mautic dashboard is not merely an aesthetic endeavor. It’s about ensuring that you have quick access to the most relevant and impactful data for your marketing needs. With a well-tailored dashboard, you can enhance your decision-making, streamline operations, and ultimately, achieve better marketing outcomes. So, invest the time in setting it up right and reap the benefits.


